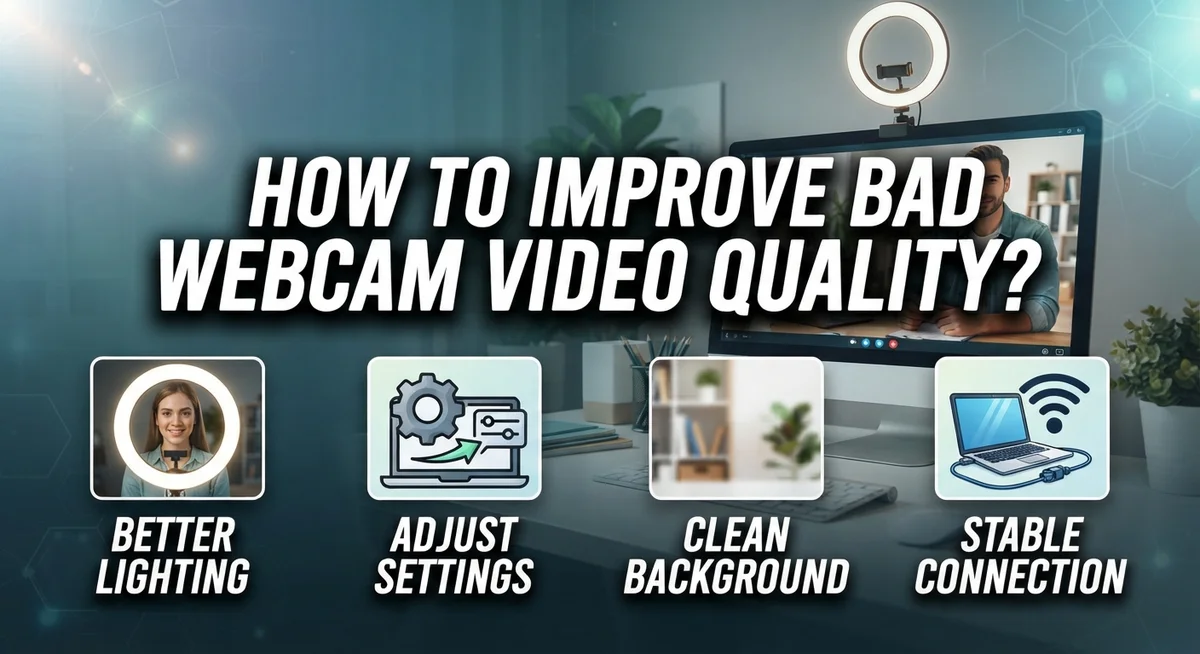
How to Improve Bad Webcam Video Quality: A Complete Guide
Does your webcam make you look blurry or dark on every call? You are not alone. Many people struggle with grainy video during meetings, streams, or chats with family.
The good news is that bad webcam quality is often easy to fix. You don’t always need new hardware. Small changes to your settings can make a big difference.
This guide walks you through simple ways to boost your video clarity. We will cover resolution and frame rate adjustments that instantly sharpen your image.
You will also learn why lighting plays such a huge role in how you appear on screen. Good lighting can fix problems that no camera setting can solve alone.
We also touch on audio, since clear sound makes your video feel more professional. Plus, we explain how monitor brightness affects the way you judge your own video quality.
By the end of this article, you will know exactly how to test and tweak your setup. You will look clearer and more confident on every call.
In a Nutshell
Here is a quick recap of the fixes we covered.
-
Boost your resolution. Go into your camera settings and pick the highest resolution your webcam supports. This simple step often makes the biggest visual difference.
-
Adjust your frame rate. A smoother frame rate helps your video look natural. It also reduces choppy or laggy movement during calls.
-
Fix your lighting first. Good lighting can transform a dark or grainy picture instantly. Place a light source in front of you, not behind you.
-
Calibrate your monitor. Lowering brightness and contrast on your screen helps you see your video more accurately. This way, you avoid overcorrecting settings that already look fine.
-
Do not ignore audio. Clear sound makes your entire video feel more polished. Even great video quality feels off if the audio is weak.
-
Test before you go live. Always check your camera and audio settings before an important call. This helps you catch problems early and fix them fast.
Small tweaks in these areas can make a huge difference in how professional you look on screen.
Why Your Webcam Video Looks Bad
Your webcam video looks bad for several specific reasons. Understanding these causes helps you fix the problem quickly.
Resolution and frame rate are the first culprits. Most webcams default to lower settings that make your video appear pixelated or choppy. Your camera probably supports higher resolution than what is currently active. Frame rate also matters because low frame rates make movement look jerky and unnatural.
Lighting is the biggest factor in video quality. Poor lighting creates dark, grainy, or blurry footage. Your webcam struggles when it sits in dim rooms or faces bright windows behind you. The camera sensor cannot capture clear details without enough light on your face.
Monitor calibration affects how you perceive your video quality. If your screen is too bright or has high contrast, you see your video as worse than it actually looks. This misleads you into making unnecessary changes.
Audio problems make your entire video feel low quality. Even clear video sounds unprofessional when audio is muffled, too quiet, or full of background noise. People judge your overall presentation based on both sound and picture.
Your camera position also impacts quality. Webcams pointed upward create unflattering angles and poor focus. Distance from the lens matters too because cameras focus differently at various distances.
Environmental factors beyond lighting include reflections, clutter behind you, and distracting backgrounds. These elements distract viewers and make your video setup appear unprofessional.
Dirty lenses are often overlooked. Dust, fingerprints, or smudges on your camera lens reduce sharpness significantly. A clean lens makes an immediate difference in clarity.
Most bad webcam video results from one or two fixable issues. Start by checking your resolution settings and lighting conditions first.
Adjusting Resolution and Frame Rate Settings
Resolution determines how sharp and detailed your video appears to others. Higher resolution captures more pixels, which means clearer images and less blur. Most webcams support multiple resolution options in their settings menu. You should check what your specific camera can handle, as older models may max out at 720p while newer ones reach 1080p or higher.
Finding your resolution settings depends on your operating system. On Windows, right click your camera icon and select properties or settings. On Mac, open System Preferences and find your camera options. Many video call platforms like Zoom or Teams also let you adjust resolution directly in their app settings before you join a call.
Frame rate measures how many images your camera captures per second. It’s measured in frames per second, or fps. A rate of 24 fps feels smooth for most conversations. Higher rates like 30 fps or 60 fps look even more natural and reduce choppy movements.
Test different settings to find your sweet spot. Start by setting your resolution to the maximum your webcam supports. Then adjust your frame rate upward gradually. Keep in mind that higher settings require more internet bandwidth and processing power from your computer.
Don’t assume your default settings are optimal. Many cameras ship with conservative settings that leave room for improvement. Once you change these values, run a test call with a friend before an important meeting. This way you can see the actual results and confirm the changes made a real difference to your video quality.
Setting Up Proper Lighting for a Clearer Picture
Lighting is the single most important factor in webcam video quality. Poor lighting makes your video grainy, dark, and unflattering. Good lighting fixes these problems instantly.
Position your light source in front of you. Place a lamp or window light facing your face directly. This eliminates shadows and shows your features clearly. Avoid placing lights behind you, as this creates a silhouette effect and confuses your camera.
Use soft, diffused light instead of harsh brightness. Direct sunlight or bare bulbs create unflattering shadows on your face. Bounce light off white walls or use frosted bulbs to soften the glow. This approach feels more natural and flattering on camera.
Aim for even lighting across your face. If one side looks darker than the other, add a second light source. You don’t need expensive equipment. A desk lamp on each side of your monitor works perfectly.
Test your lighting before important calls. Open your video conferencing app and watch yourself in the preview. Your face should look clear, well lit, and free of harsh shadows. Adjust lamp positions until you’re satisfied.
Avoid backlighting situations. Never sit with a bright window directly behind you. Your camera will expose for the background light, making your face appear dark and unclear.
Consider your room’s natural light. Daytime calls near a window often look better than artificial lighting alone. However, make sure the window light doesn’t create glare on your screen or camera lens.
Simple lighting adjustments transform your video quality dramatically. You’ll notice the difference immediately in your next video call.
Calibrating Monitor Brightness and Contrast
Your monitor’s brightness and contrast settings directly affect how you perceive your webcam video. What looks good on your screen might not match what others actually see. Calibrating these settings helps you make accurate adjustments to your camera.
Start by opening your video conferencing application. Look at yourself in the preview window. Pay attention to whether your face appears too dark or too washed out. This tells you if your monitor needs adjustment.
Lower your monitor brightness slightly if your video preview looks overly bright. Many people keep their screens too bright, which makes their webcam feed appear blown out. You want to see natural skin tones and facial details clearly.
Next, adjust the contrast setting. Contrast controls the difference between light and dark areas on your screen. Increase contrast if your face blurs into the background. Decrease it if shadows become too harsh or black areas look crushed.
Use a test call with a friend or colleague to verify your calibration. Ask them how you look on their end. Their feedback matters more than what you see, since they receive the actual camera output, not your monitor’s interpretation.
Keep your monitor settings consistent for all video calls. Don’t change brightness and contrast constantly. Once you find comfortable settings, leave them alone.
Remember that monitor calibration doesn’t fix your actual camera quality. It only helps you see what’s really happening. Proper calibration ensures you make good decisions about lighting and positioning. You’ll catch problems before they affect important meetings or broadcasts.
Improving Audio to Complement Video Quality
Good audio makes your video calls feel professional and complete. People forgive poor video quality more easily than bad sound. When you improve your audio, viewers focus less on video imperfections.
Start by checking your microphone placement. Position your mic about 6 to 12 inches from your mouth. This distance captures clear speech without picking up every breath or keystroke. Avoid placing the microphone too close, which creates distortion. Don’t place it too far away, which makes you sound distant.
Reduce background noise in your recording space. Close windows and doors to block traffic sounds. Turn off fans, air conditioning, or other loud appliances during calls. Soft materials like curtains and carpets absorb sound better than hard surfaces. These simple changes eliminate distracting noises that compete with your voice.
Test your audio levels before important calls. Most video conferencing apps have a settings menu where you can adjust microphone volume. Speak at your normal conversation level and watch the audio meter. Your voice should register in the middle range, not too quiet or too loud.
Consider your audio environment when setting up your workspace. Rooms with lots of hard surfaces create echoes. Bedrooms and living rooms with soft furniture work better than empty offices. If echo is a problem, add a blanket or towel near your microphone to absorb sound waves.
Check your system’s audio input settings. Make sure your operating system recognizes your microphone. Some computers default to built in speakers that sound tinny. Selecting the correct audio device makes an immediate difference.
Quality audio pairs perfectly with your video improvements. Together, they create a professional appearance that impresses colleagues and clients.
Testing and Fine-Tuning Your Setup Before Going Live
Before you go live, you need to test everything. This step prevents embarrassing technical failures during important calls or streams.
Start by opening your video conferencing application or recording software. Look at your preview window carefully. Check if your video appears sharp and clear. Watch for any pixelation or blurriness in your face and background.
Next, test your resolution and frame rate settings. Adjust these to the highest levels your webcam supports. Record a short 30 second video clip. Play it back and examine the quality closely. Look for stuttering or lag in movement.
Pay attention to how your lighting looks in the preview. Shadows should be minimal. Your face should appear evenly lit without dark patches. If you see problems, adjust your light sources before going live.
Check your audio separately. Speak normally and listen to the playback. Your voice should sound clear without distortion. Background noise should be barely noticeable. If you hear hum or static, investigate the source.
Run a full test call with someone you trust. Ask them for honest feedback about your video and audio quality. They may notice issues you missed. This real world test is invaluable.
Document your final settings. Write down your resolution, frame rate, and audio levels. Note your light positions and monitor brightness. Save these details so you can replicate them later.
Test during the same time of day as your planned live event. Natural lighting changes throughout the day. Morning light differs from afternoon light. This ensures your setup works under actual conditions.
Never skip this testing phase. A few minutes of preparation prevents poor quality broadcasts that damage your credibility and message.
Common Mistakes That Ruin Webcam Quality
Many people make simple mistakes that destroy their webcam quality without realizing it. Understanding these errors helps you avoid them.
Leaving default camera settings is the biggest culprit. Most cameras ship with lower resolution and frame rate options enabled by default. You must manually adjust these to maximum levels your camera supports. Check your video conferencing app settings or camera software to change resolution and frame rate.
Poor lighting choices ruin video quality faster than anything else. Sitting in dim rooms or facing direct sunlight creates unflattering shadows and blown out images. Your face needs soft, even light from the front. Harsh overhead lights or single light sources cause dark spots on your face.
Ignoring your monitor setup affects how you perceive your video quality. If your monitor brightness is too high, your video preview looks washed out. You then make incorrect adjustments thinking your camera is the problem. Lower your monitor brightness slightly and adjust contrast to see your actual video quality.
Neglecting audio quality makes your video calls feel unprofessional. People notice bad audio more than they notice slightly fuzzy video. Position your microphone close to your mouth and away from keyboard noise.
Not testing before important calls causes preventable disasters. You discover problems during live meetings instead of beforehand. Open your video app and watch your preview. Test with a friend or colleague. Check lighting, resolution, frame rate, and audio together.
Using outdated camera drivers limits your camera’s performance. Your device may support higher quality, but old software prevents it. Update your camera drivers regularly through your system settings.
These mistakes are easy to fix once you identify them.
Troubleshooting Persistent Video Issues
When your webcam video still looks poor after basic adjustments, you need to dig deeper into what’s causing the problem. Start by checking your camera drivers. Outdated drivers prevent your camera from accessing its full capabilities. Visit your device manufacturer’s website and download the latest driver version for your specific camera model.
Next, test your USB connection quality. A faulty or low power USB port can reduce video performance. Try plugging your camera into a different USB port on your computer. If your camera works better in another port, that’s your answer. Consider using a powered USB hub if you have multiple devices competing for power.
Check your video conferencing application settings separately from your system settings. Different apps have their own resolution and frame rate controls. Your camera might support high quality, but your app is forcing lower settings. Open your application preferences and verify these settings match your camera’s capabilities.
Monitor your computer’s CPU usage during video calls. High processor load reduces video quality because your system can’t process the video stream properly. Close unnecessary background programs and browser tabs before important calls. This frees up processing power for your video.
Inspect your camera lens for dust or smudges. A dirty lens dramatically reduces clarity and sharpness. Gently clean it with a soft, dry cloth. Never use liquid cleaners on camera lenses.
If problems persist after these steps, your camera hardware may be failing. Test your camera in multiple applications to confirm the issue occurs everywhere. This helps you determine whether the problem is your camera, your computer settings, or your software configuration.
Final Thoughts
Improving your webcam video quality does not require expensive gear or technical expertise. Small changes make a big difference.
Start with your camera settings. Set your resolution to the highest option your camera supports. Adjust your frame rate for smooth, natural movement.
Lighting remains your best friend. Good lighting instantly improves how clear and professional you look. Position light sources in front of you, not behind.
Your monitor calibration also plays a role. Lower your brightness and contrast to comfortable levels. This helps you judge your actual video quality without the visual noise from a mismatched screen.
Do not forget about audio quality. Clear sound complements your improved video and makes your calls feel complete. People notice bad audio just as much as bad video.
Testing before you go live saves you from embarrassing surprises. Check every setting in a practice call. Confirm your lighting, resolution, and audio all work together properly.
If problems continue after these fixes, look deeper into your setup. Check your USB connections and update your camera drivers. High CPU usage during calls can also hurt performance.
Remember that webcam quality depends on many small factors working together. Resolution alone will not fix poor lighting. Great lighting cannot overcome outdated drivers or bad audio.
Take a systematic approach instead. Adjust one factor at a time and test the results. This way, you will know exactly what improved your video and what still needs work.
With patience and the right adjustments, anyone can achieve clear, professional looking video calls. Your webcam has more potential than you think.
Frequently Asked Questions
Why does my webcam look blurry even with good lighting?
Blurriness usually comes from resolution settings that are too low. Check your camera settings and set the resolution to the maximum your camera supports. Your video conferencing app might also have separate resolution controls. Test different settings to find what works best for your internet speed and computer power.
Can I improve video quality without buying a new camera?
Yes. Most people don’t use their camera’s full capabilities. Start by adjusting resolution and frame rate in your system settings. Improve your lighting setup with natural or artificial light sources. Clean your lens with a soft cloth. Calibrate your monitor brightness so you see the video clearly. These changes often make a huge difference without spending money.
What frame rate should I use for video calls?
Most video calls work well at 24 to 30 frames per second. Higher frame rates like 60 fps can make motion smoother but use more internet bandwidth and computer power. Test different settings during practice calls to see what your connection can handle. Lower frame rates save bandwidth if your internet is slow.
Does my monitor brightness affect how my video looks?
Yes. Your monitor shows you how your video appears to others. If your monitor is too bright, you might think your video looks fine when it actually looks dark to viewers. Calibrate your monitor by lowering brightness and contrast slightly. This helps you see the true quality of your video before you go live.
How often should I update my camera drivers?
Check for driver updates every few months. Old drivers can limit your camera’s performance and introduce bugs. Visit your camera manufacturer’s website or check your computer’s device manager. Updated drivers often improve video quality and fix connection problems.

Dillip is the founder and editor of Switch & Size, where he breaks down tech products, accessories, and gadgets to help readers make smarter buying decisions. With a passion for testing and comparing the latest technology, he delivers honest reviews, in-depth guides, and side-by-side comparisons that cut through the marketing noise.